


In CAD-Ray’s version of exocad, we have dramatically reduced the steps necessary to get a final proposal with copying a pre-op, mock up, or wax-up. We’ve configured the wizzard to walk you through the steps of defining your path of draw after margin placement, trimming away material you don’t want your proposal “to touch” and giving instant proposals.
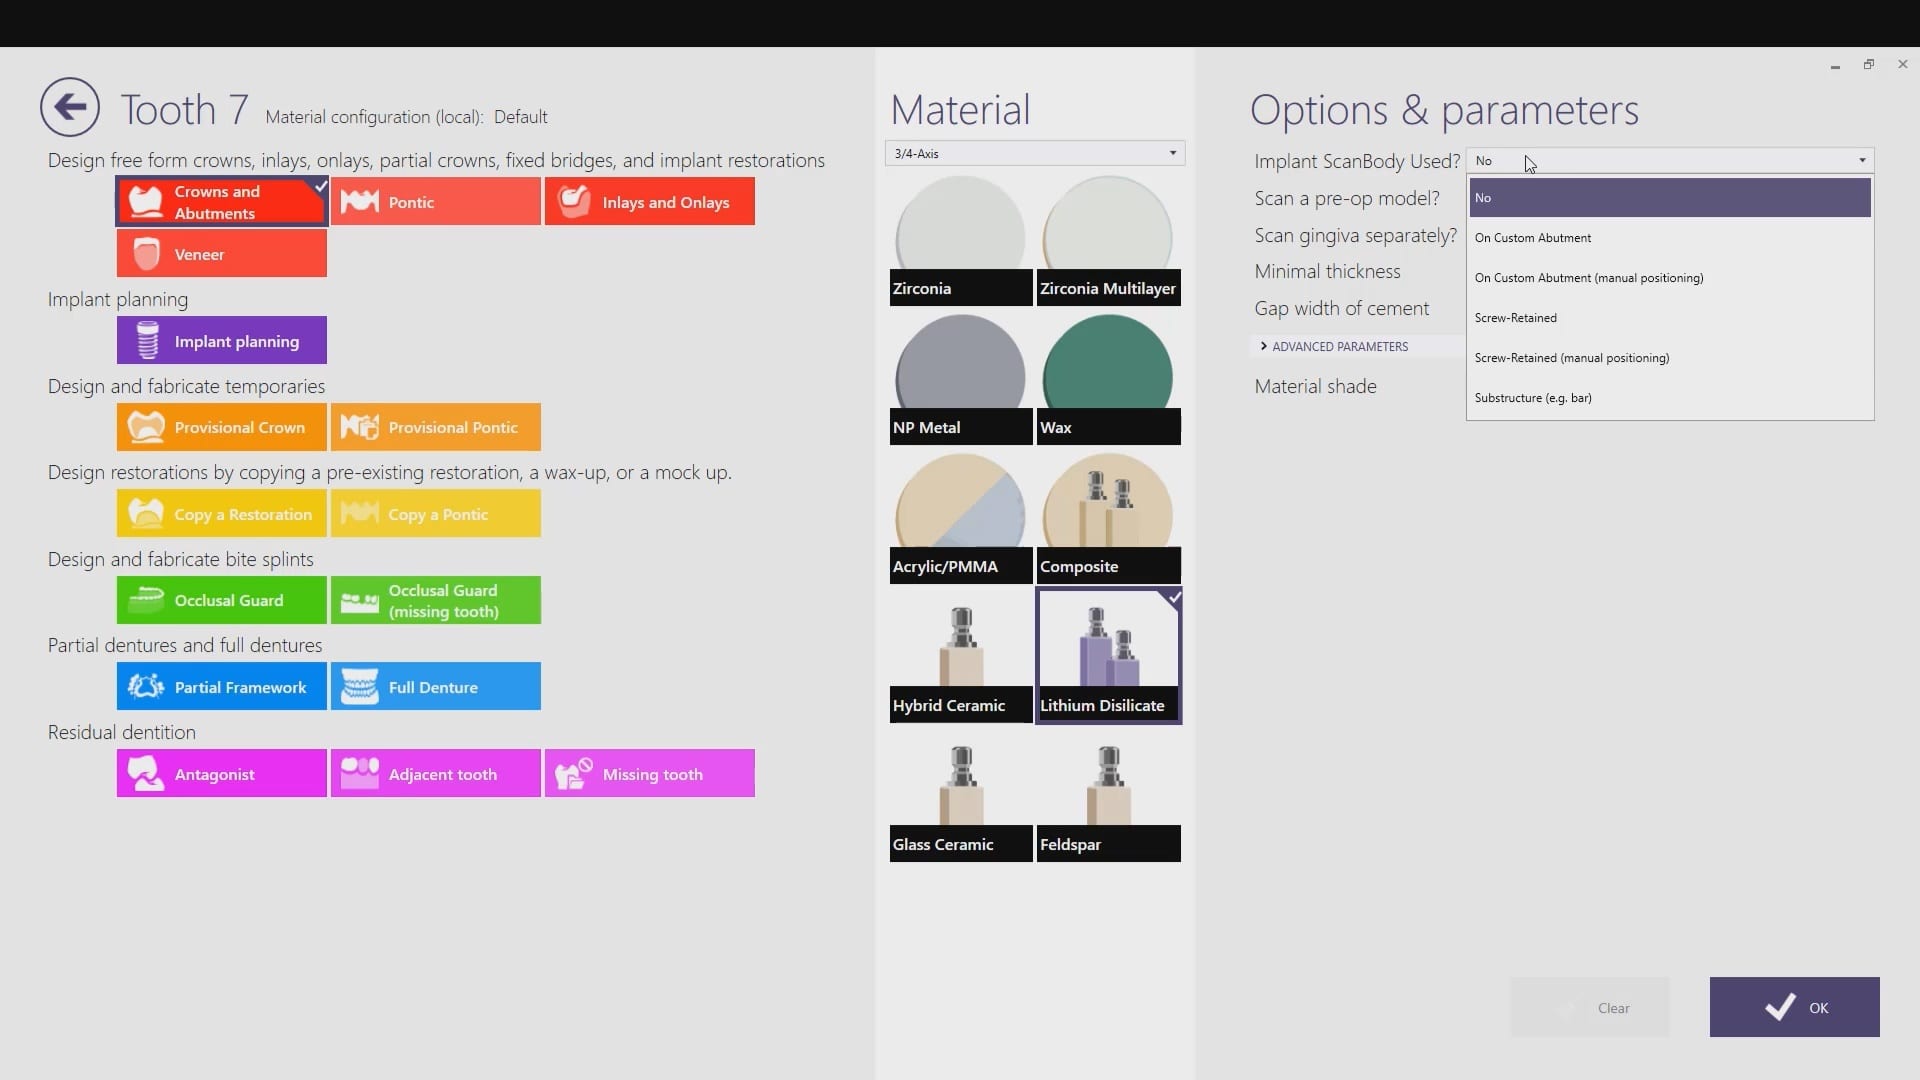
There is one difference you need to be aware of in design modes; Anatomic Crown vs. Anatomic Wax up. When designing a crown, you can choose to include the pre-existing model in the equation. When you select “YES” to “Scan Pre-Op Model?” you tell the design software to incorporate that into the equation, but you will get a free form proposal and then you adapt it to the pre-op model. Alternatively you can choose Anantomic Wax Up and you will design an restoration in under a minute that is to your liking.
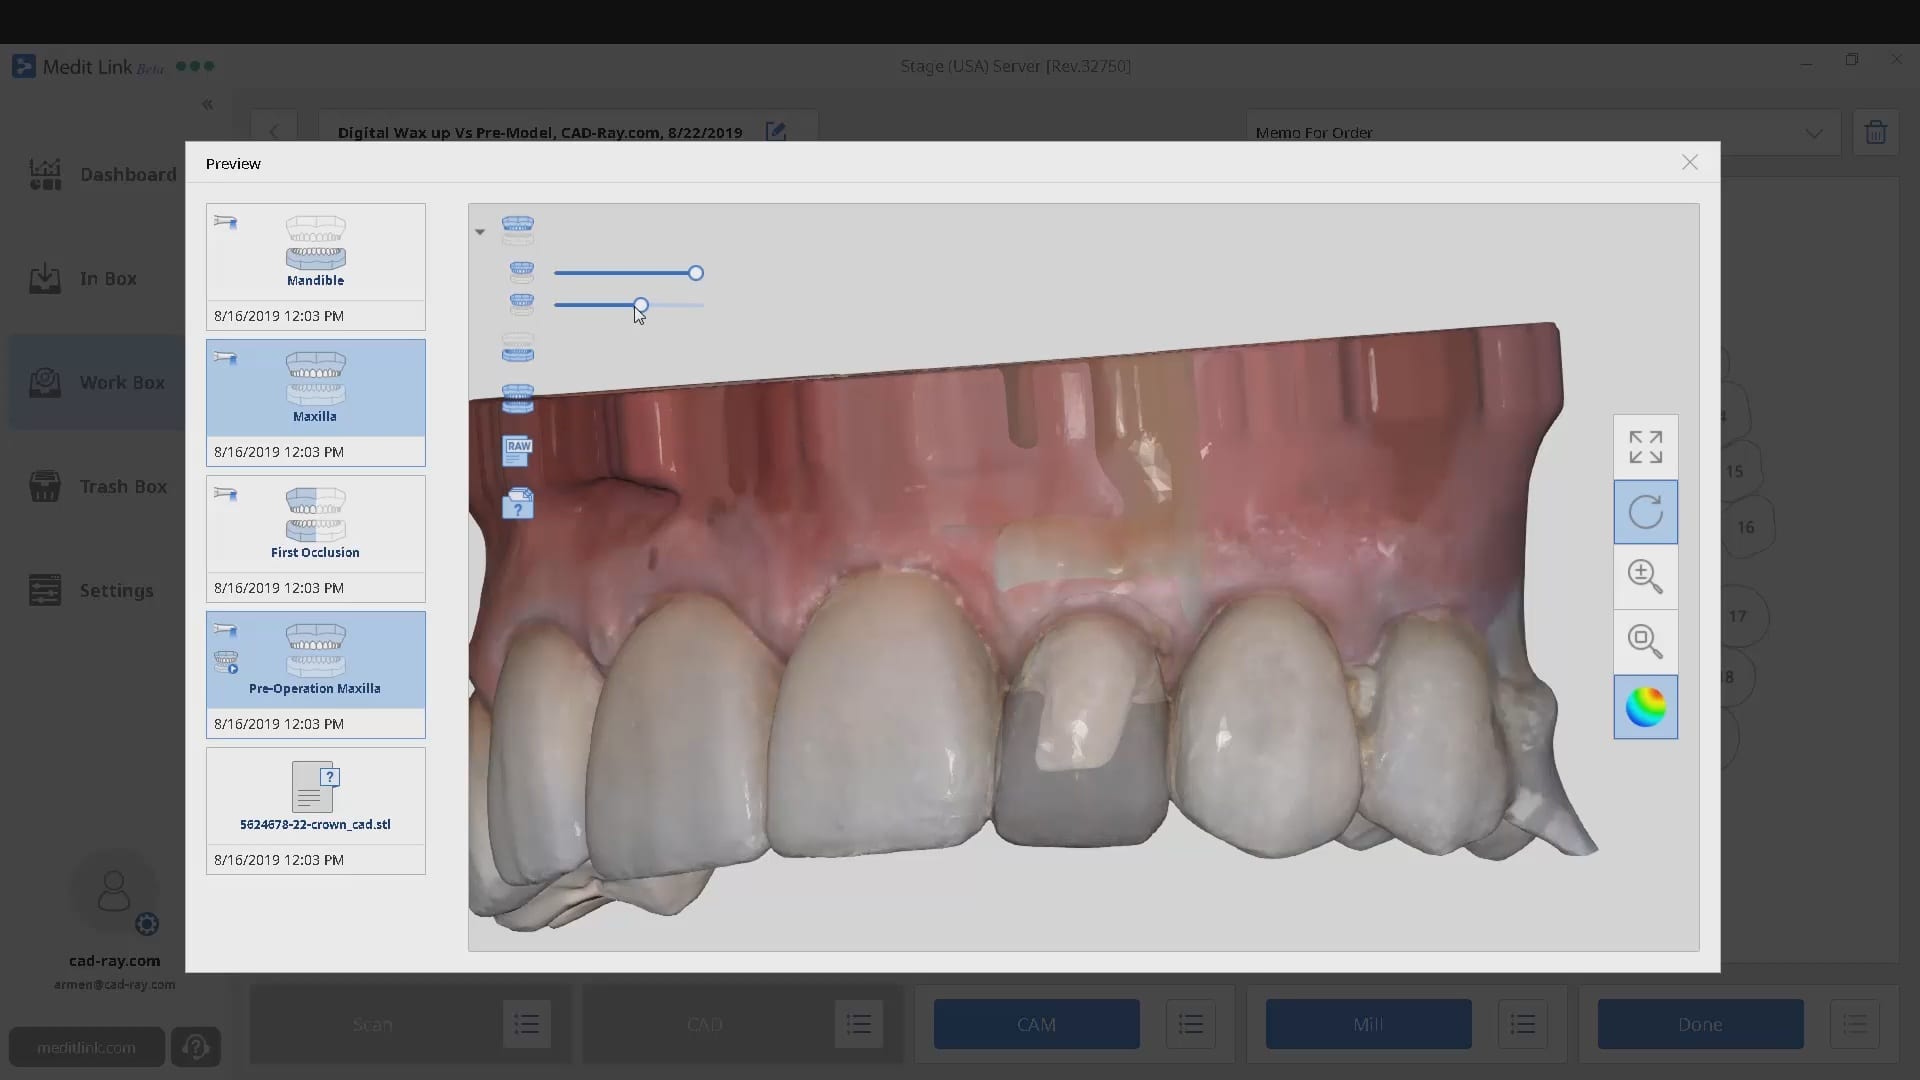


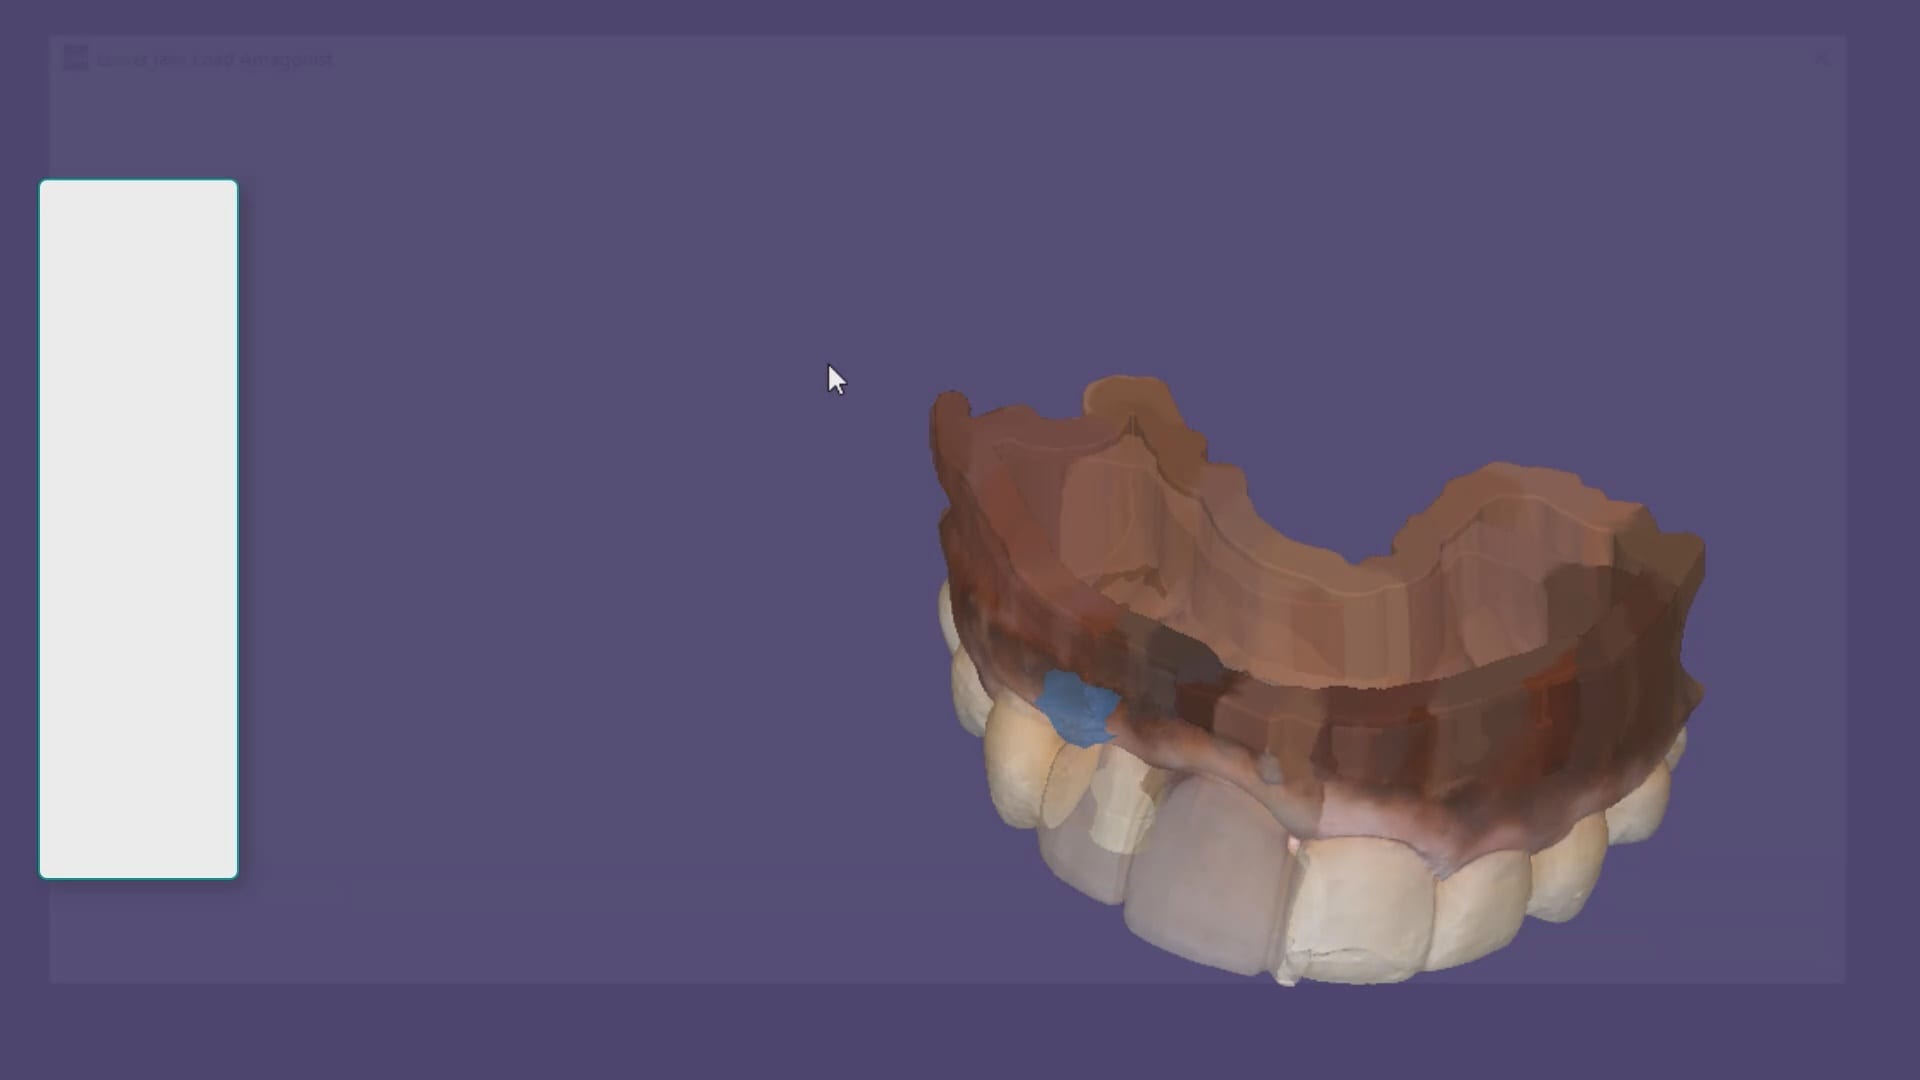
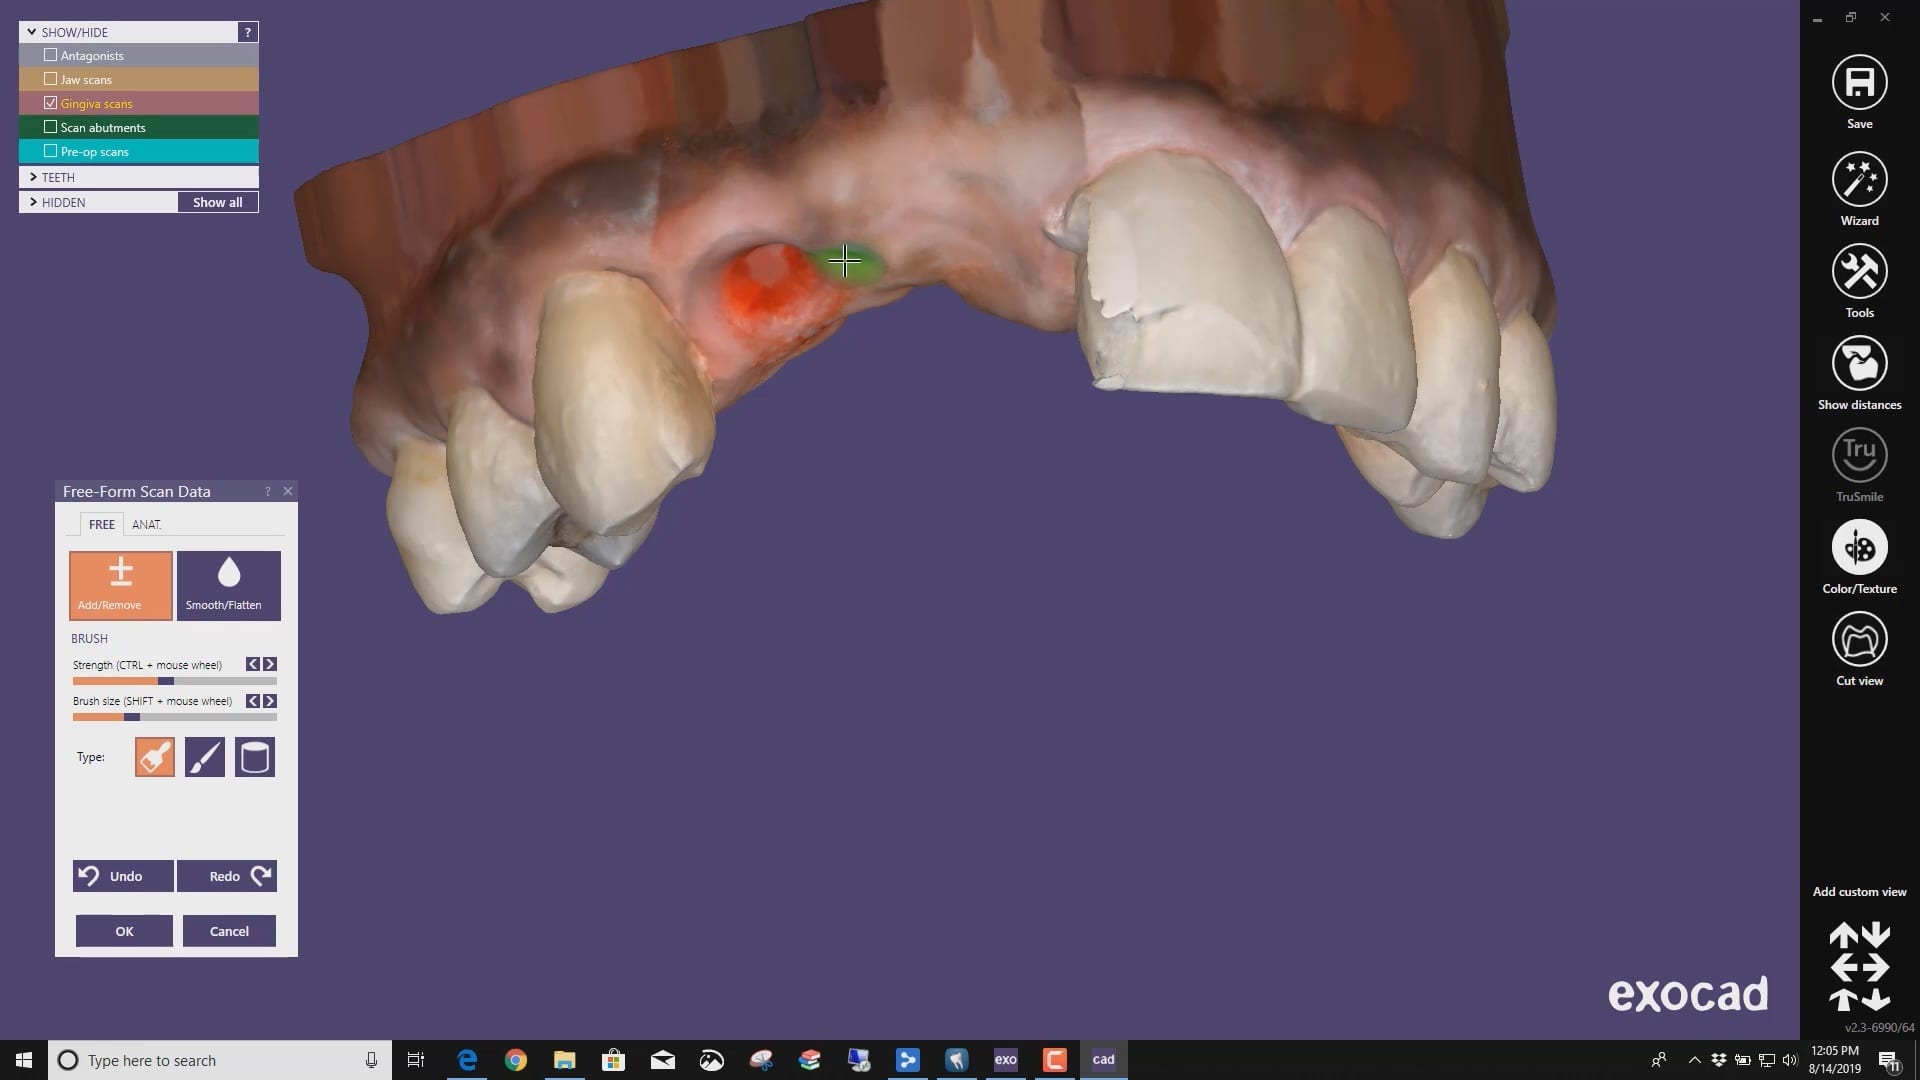
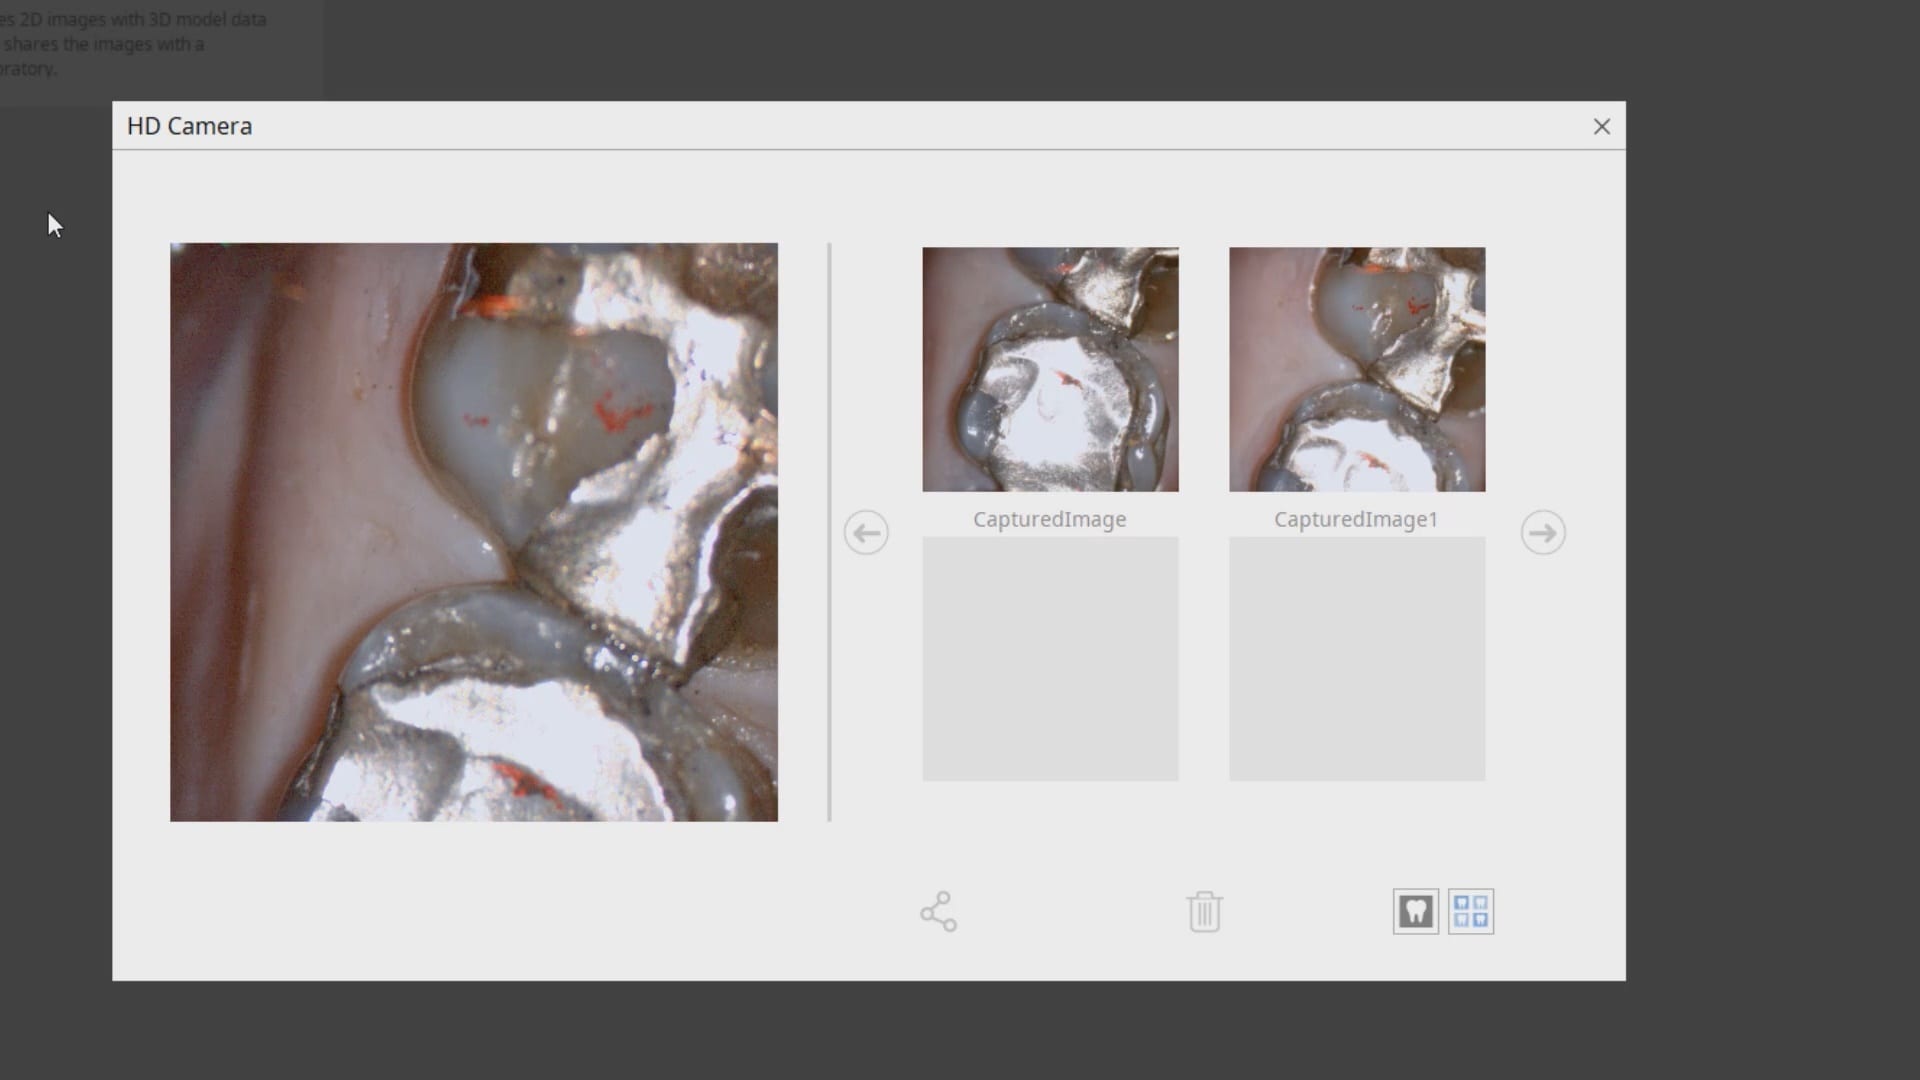
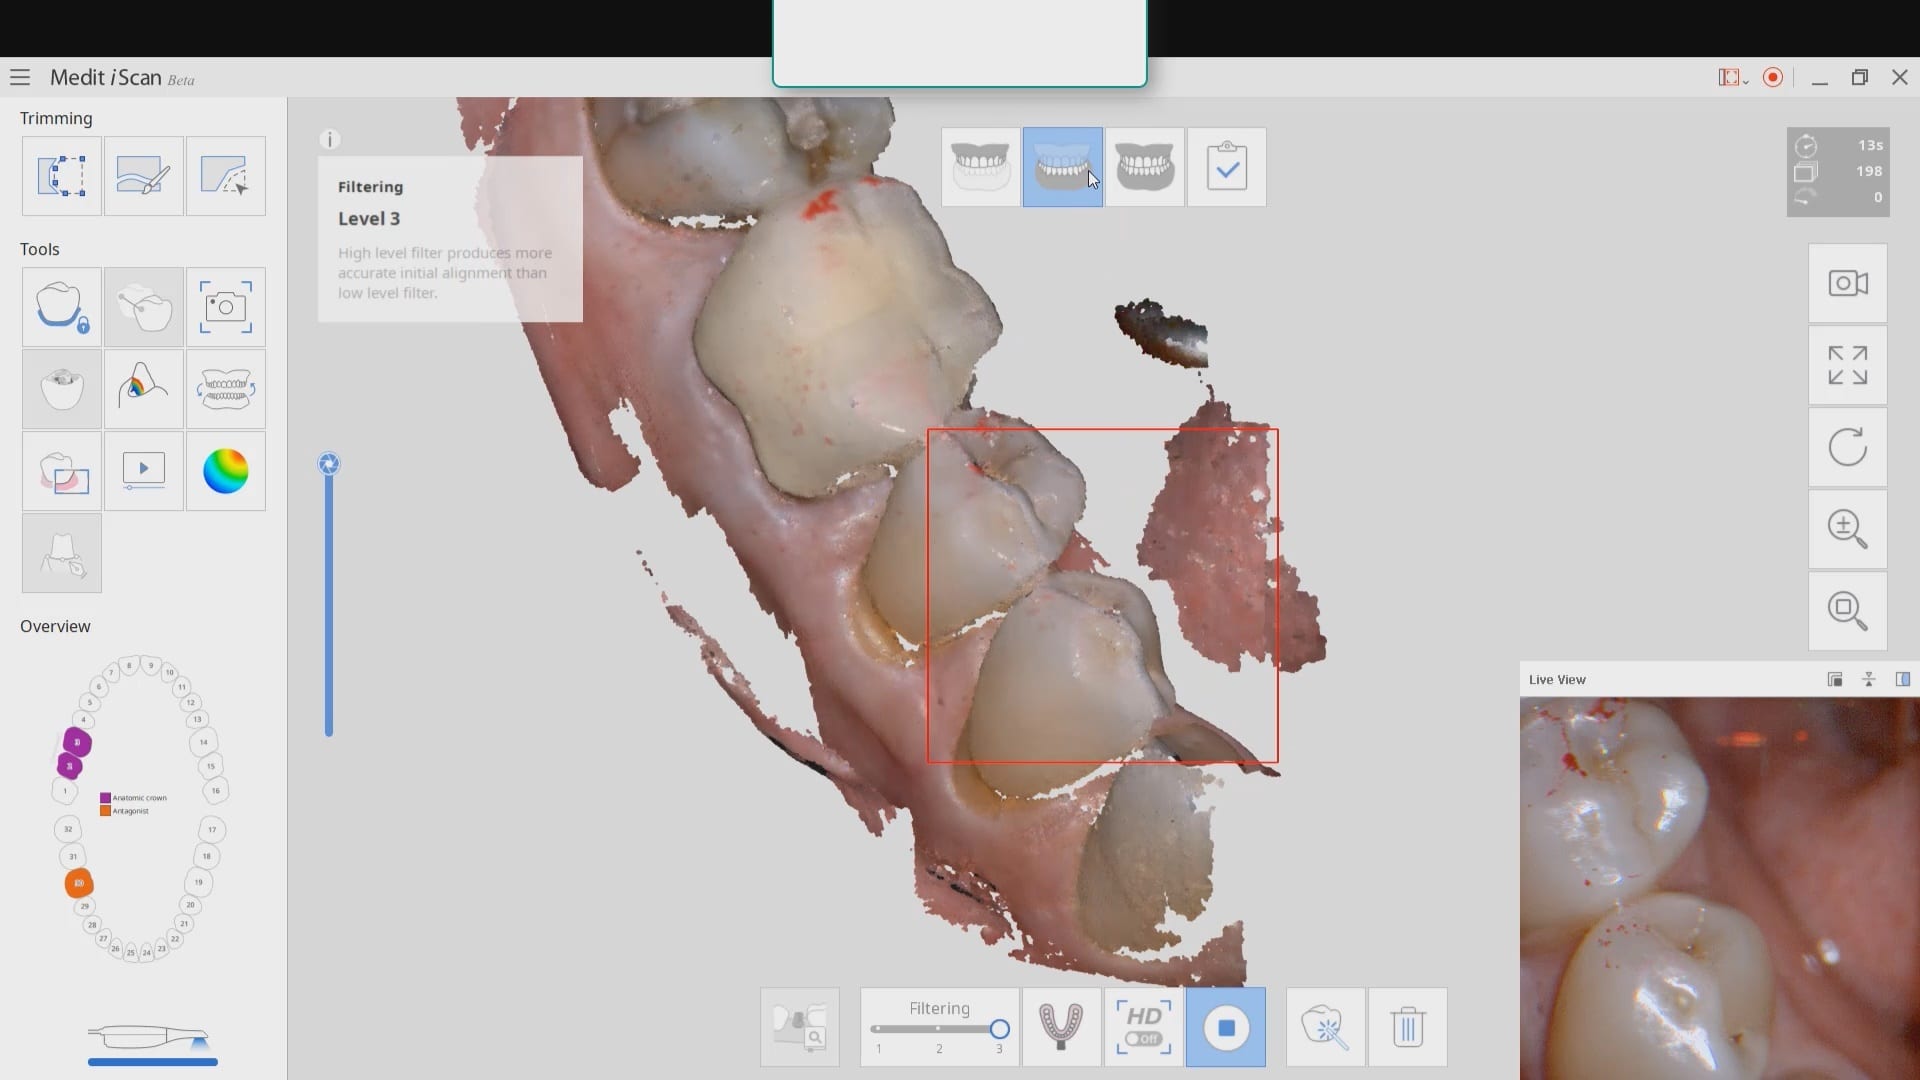
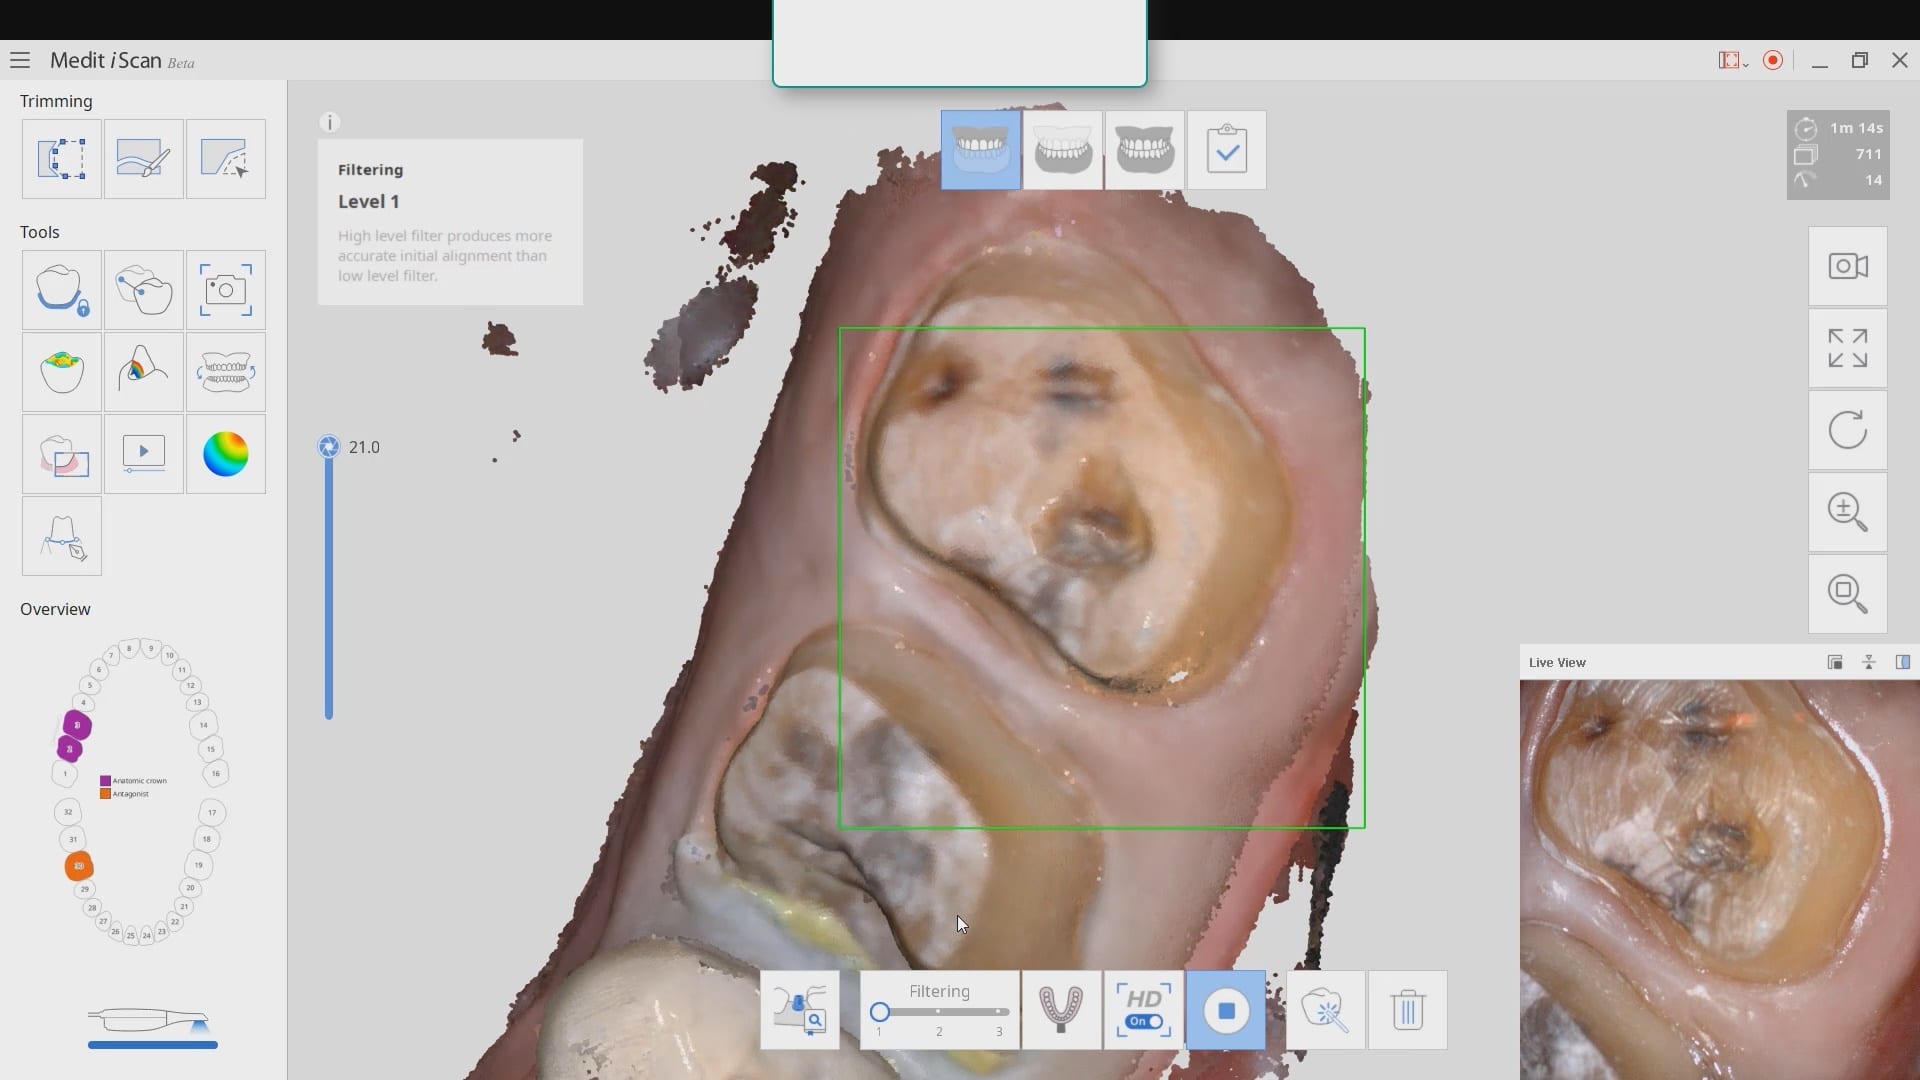
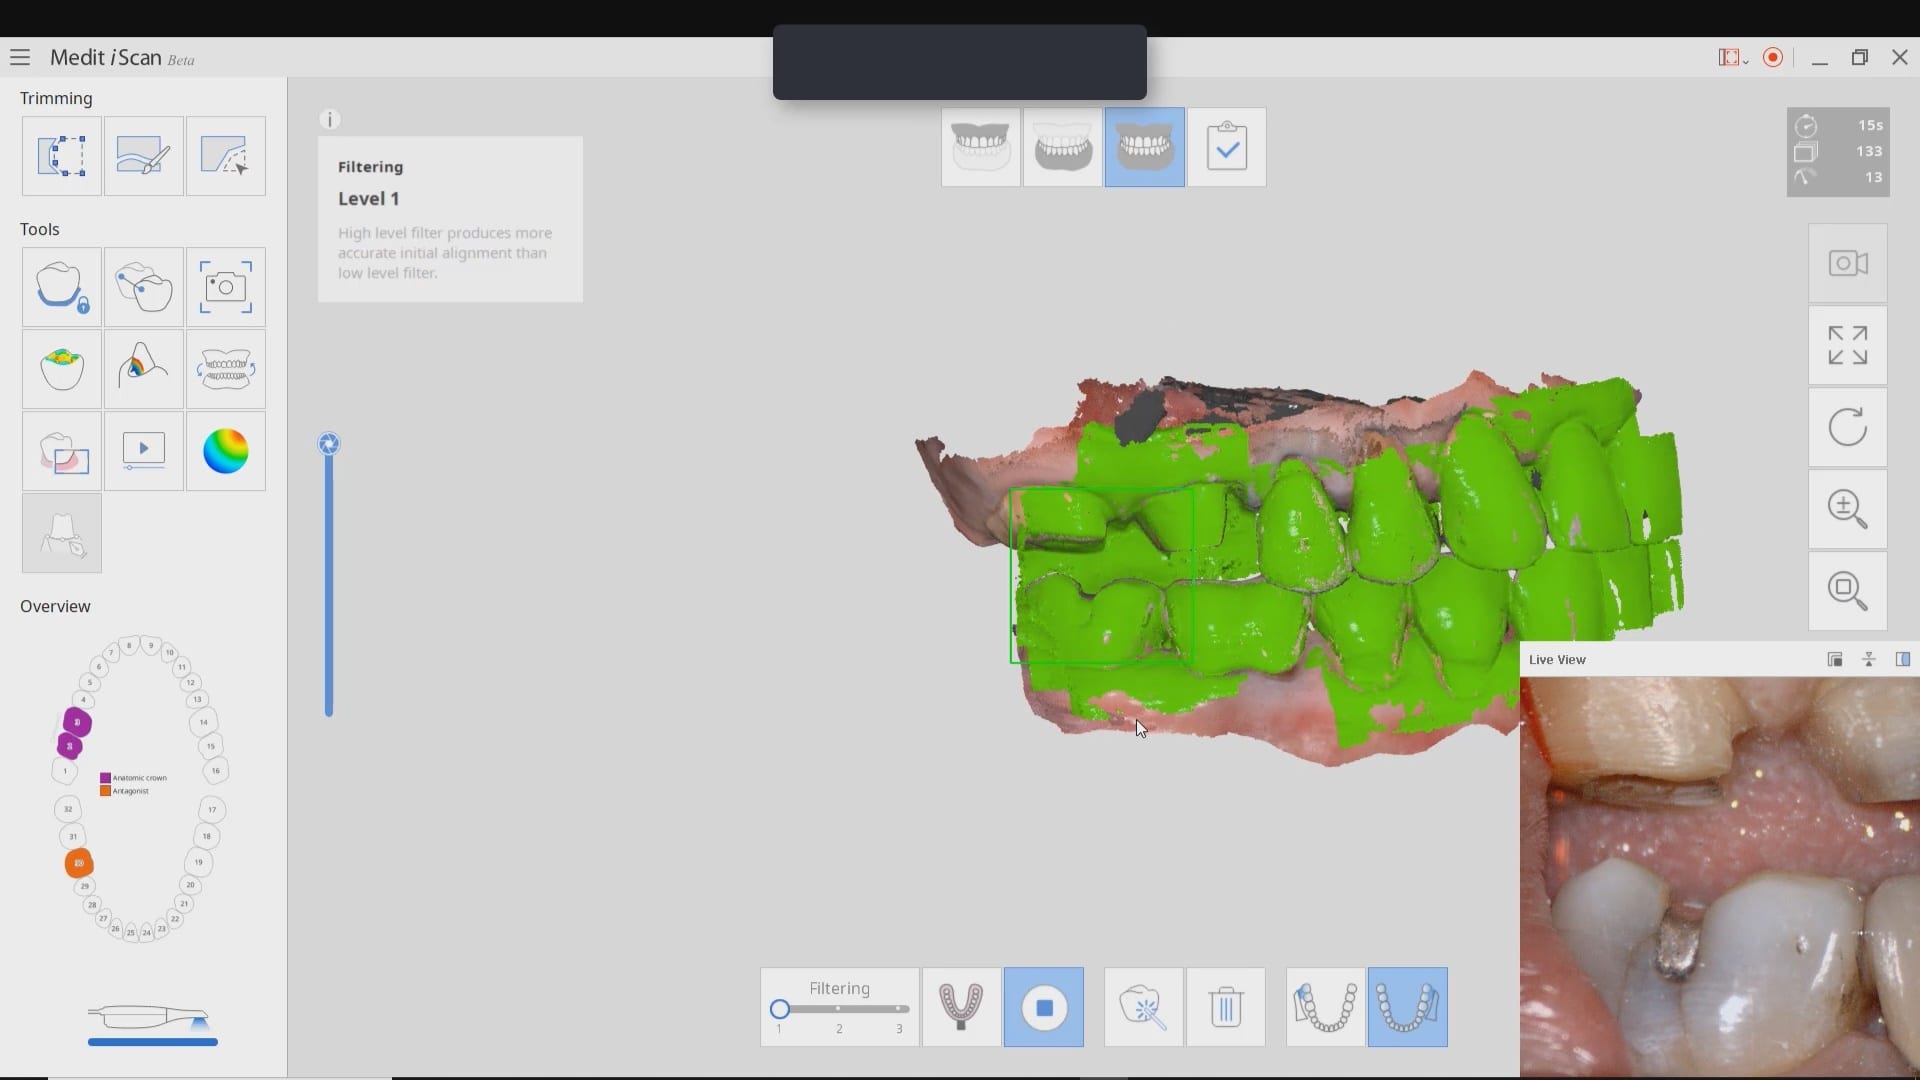
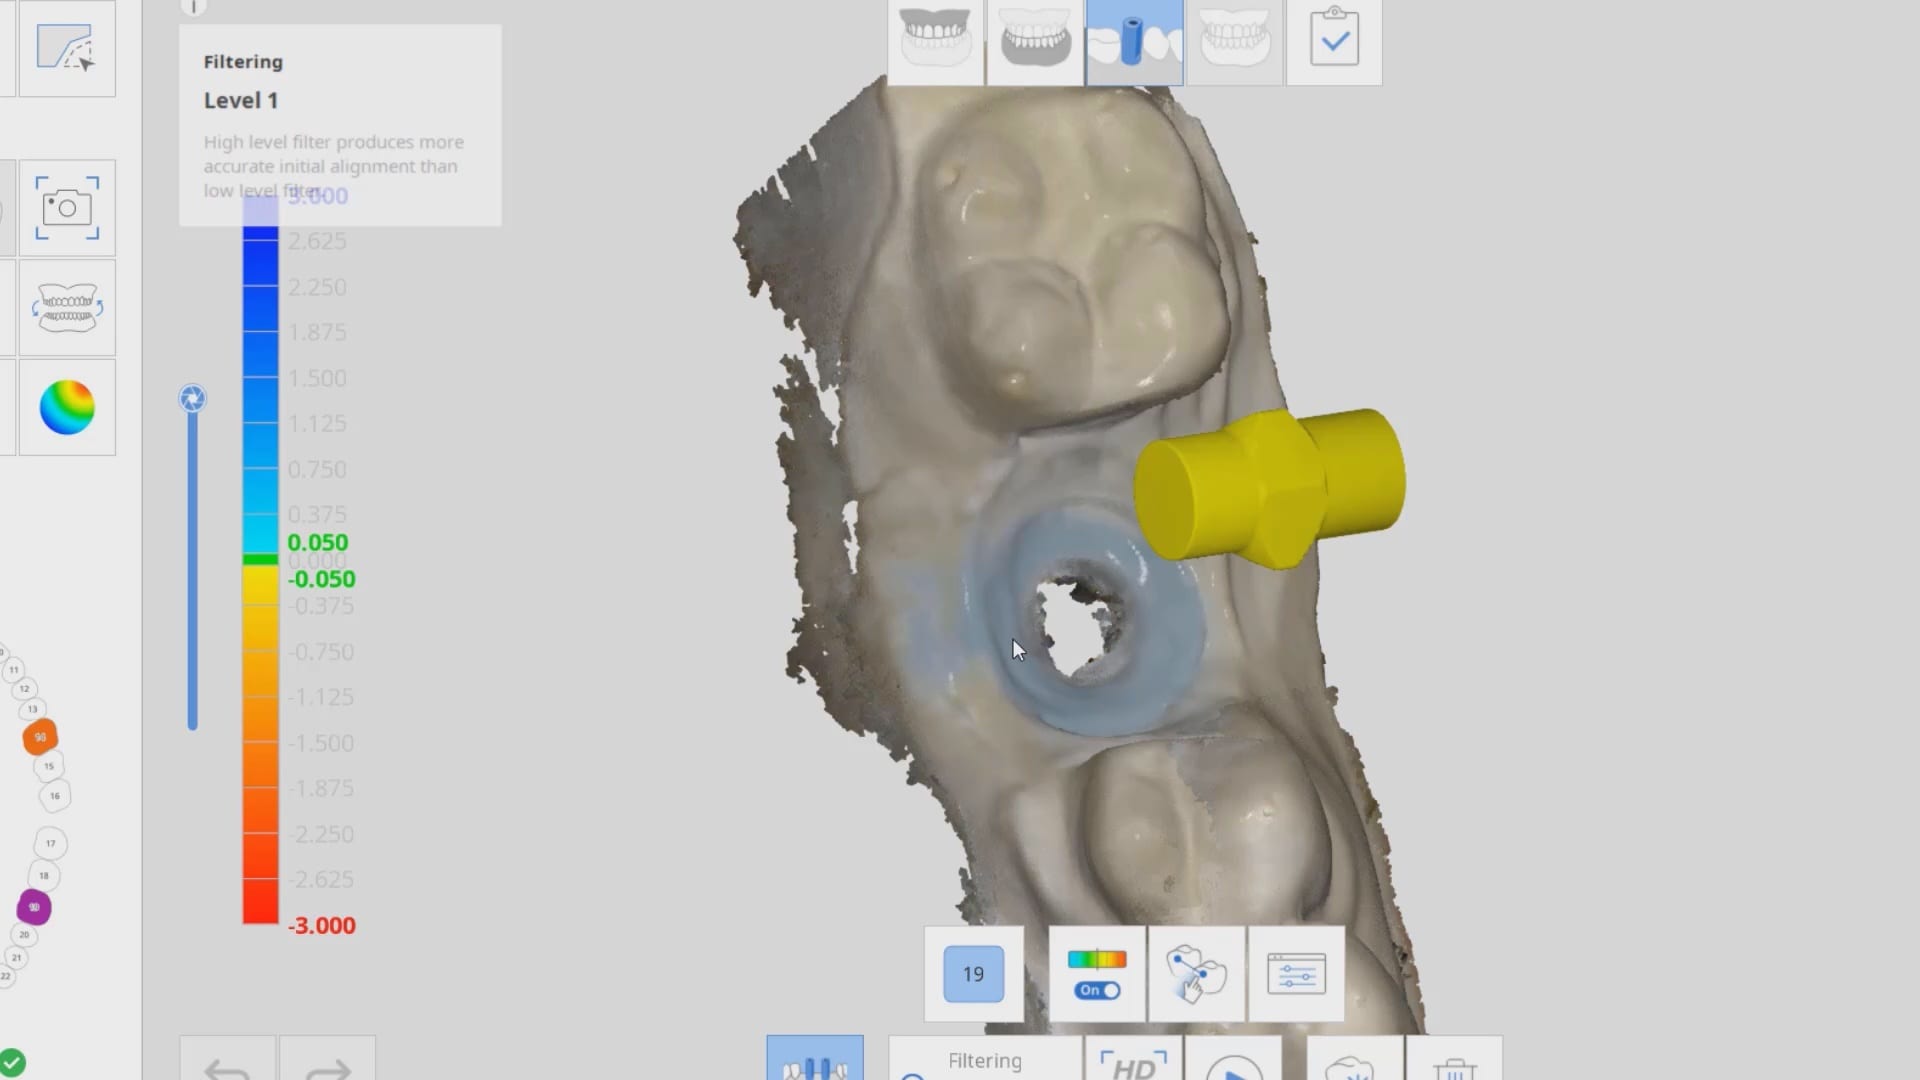
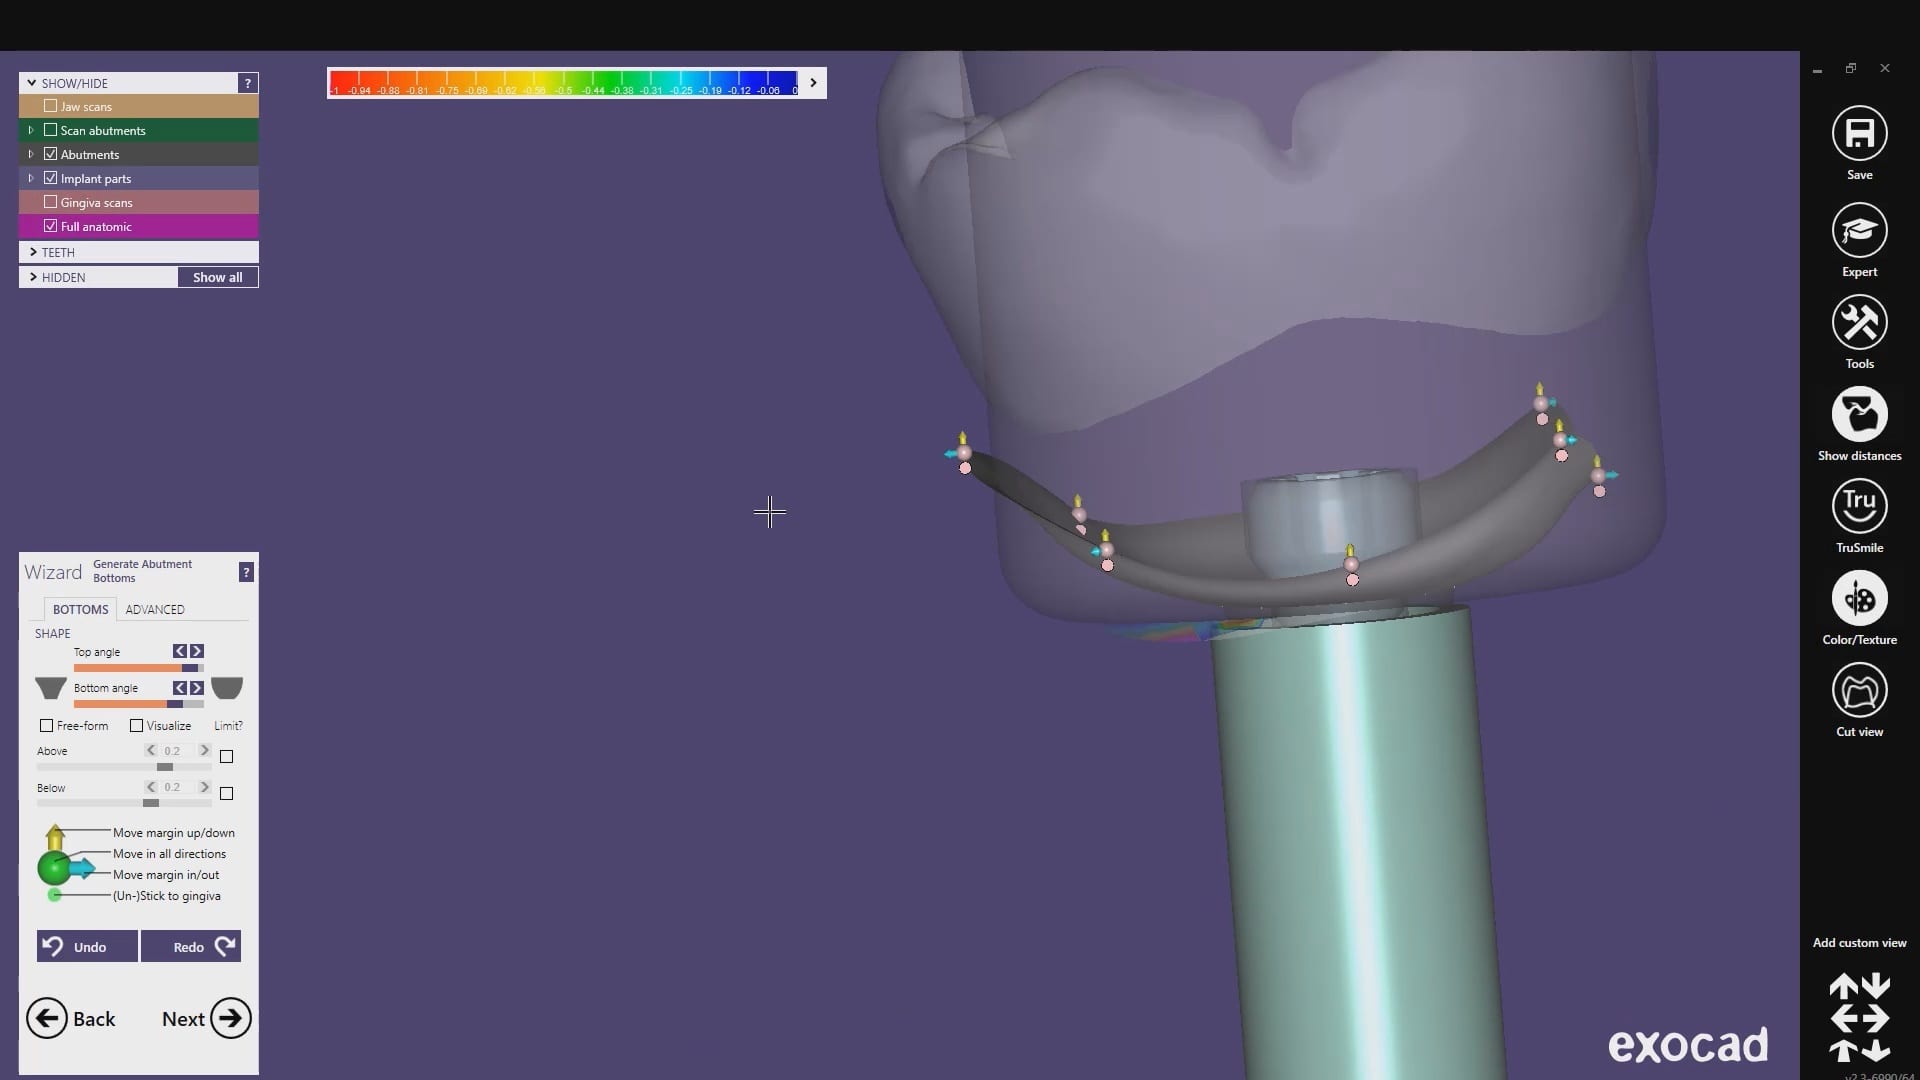
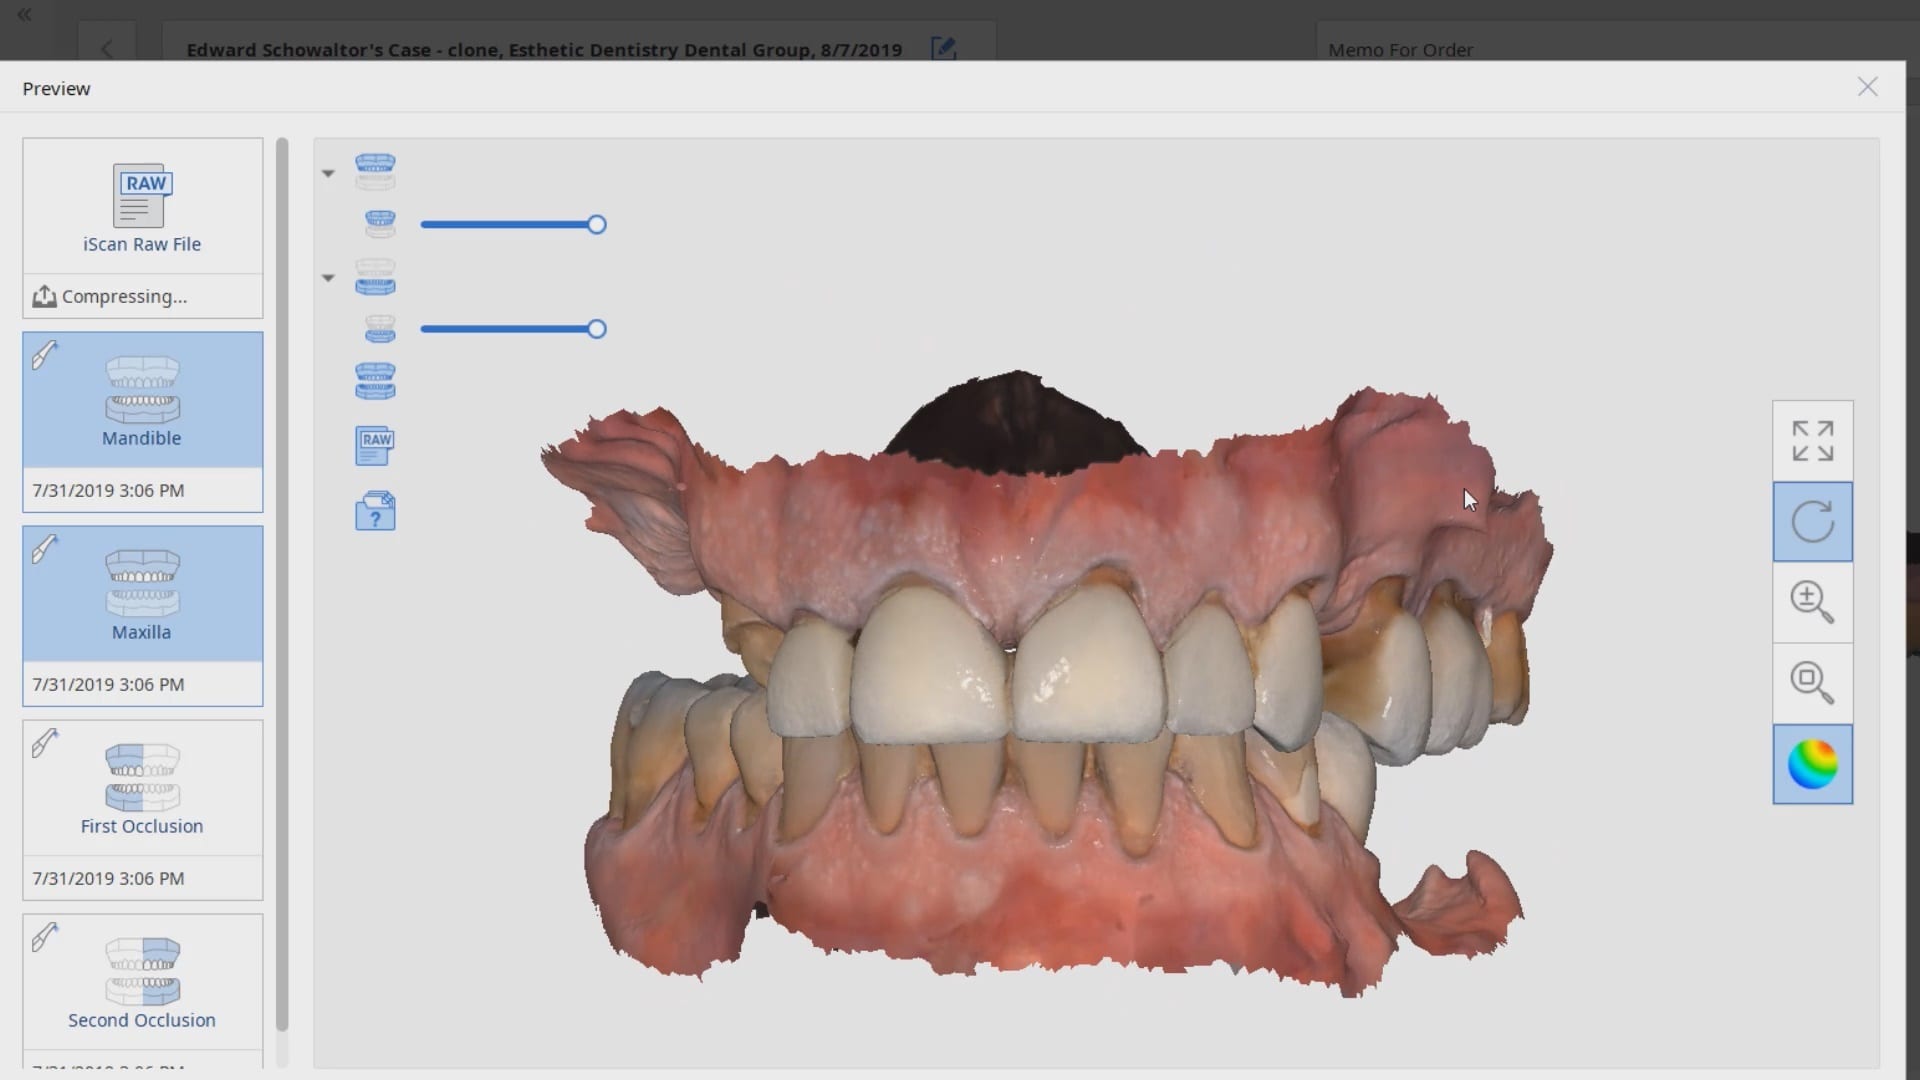
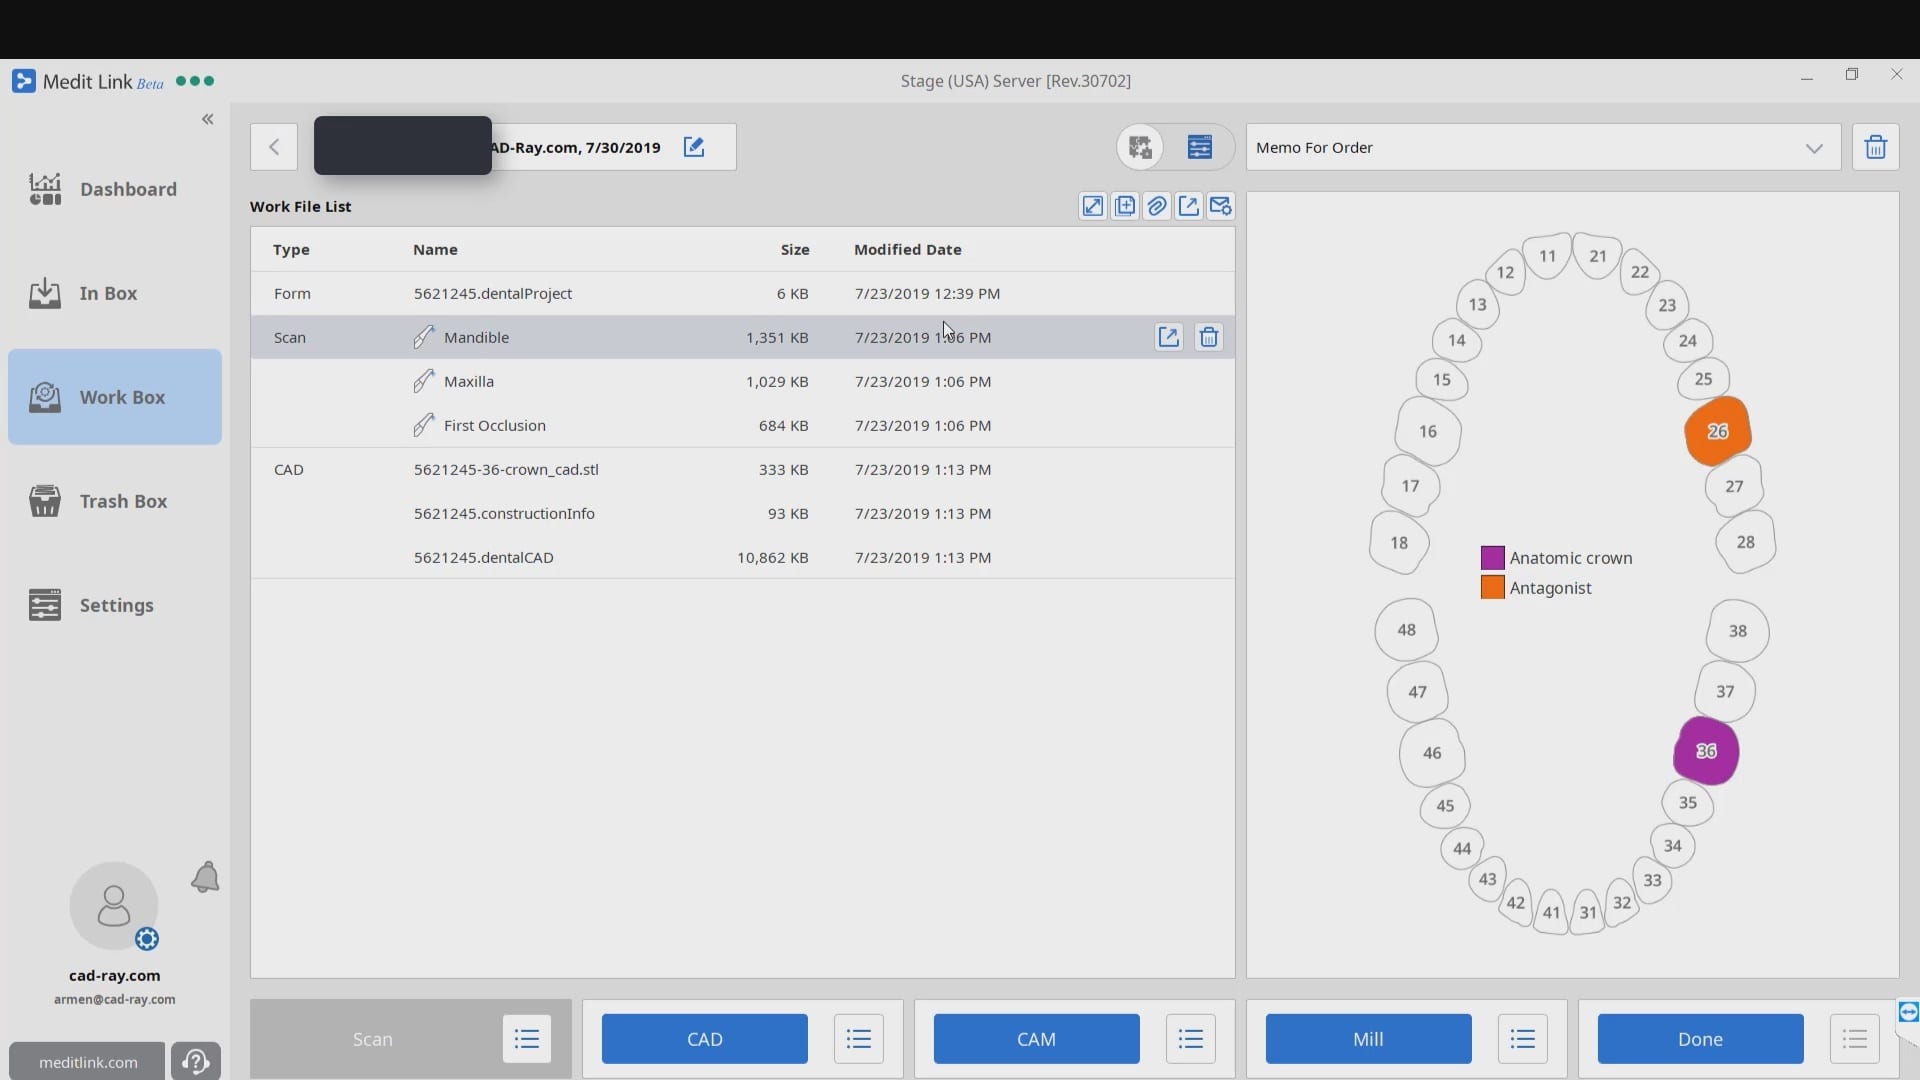
 A very common source of frustration for most dentists or those who are new to designing implant crowns is the emergence profile of the abutment or crown. Most of the time, the shape of the tissue dictates the digital design and this article showcases how we used the medit i500 for the intra-oral scan of the patient and then used exocad to design the restorations. Our advanced users can appreciate how we bring the arch model in twice- once as the maxillary model and once as the gingiva model. We then digital sculpt the tissue to create the proper profile yet we still have the original model to reflect back to asses the changes.
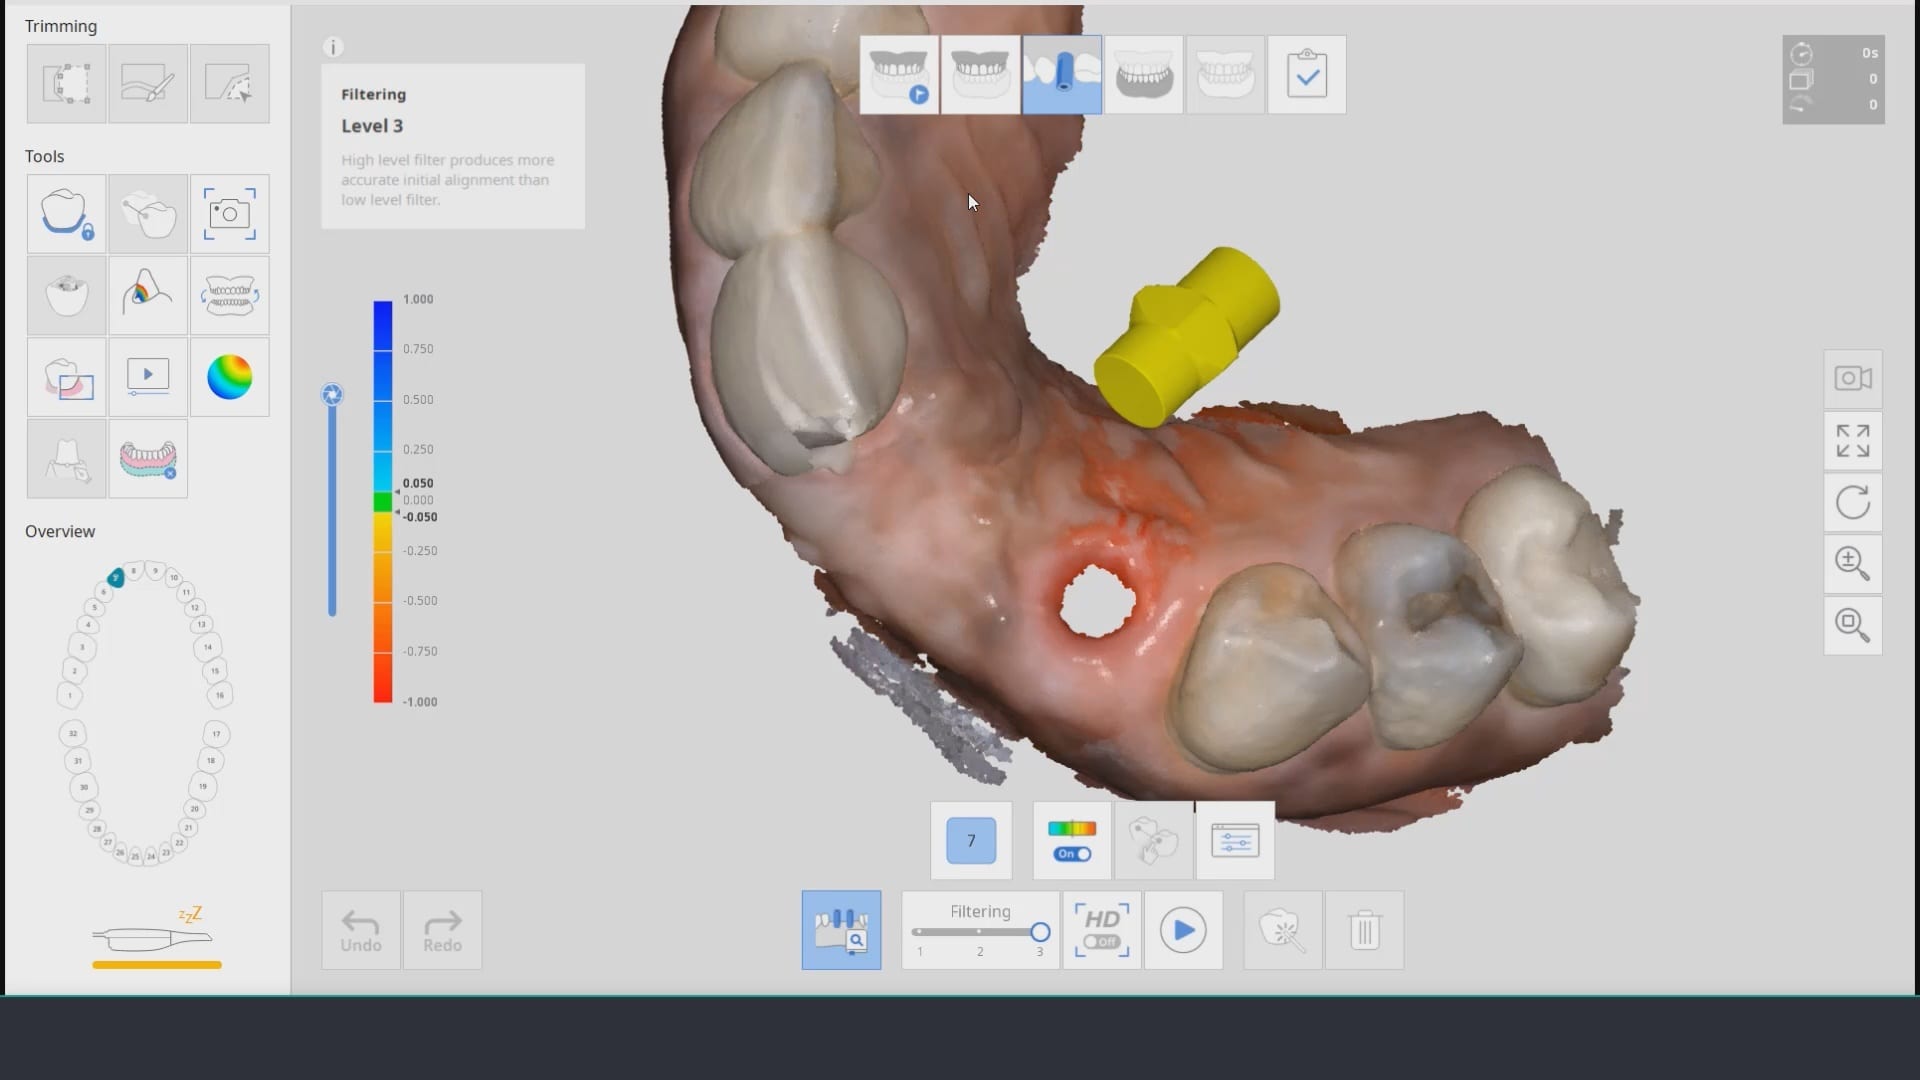


You must be logged in to post a comment.